Caramel Apple Dip (EASY!)
A few weeks ago, we went to the 1st birthday party of a close high school friend’s baby girl. Her mom had made the most delicious dip for sliced apples, and adults and kids alike were gobbling it up. When I asked her for the recipe (as Georgia kept digging into it!), she said it had just three ingredients that sound gross when you list them out separately, but tasted perfect when combined together. They are cream cheese, caramel sauce and granola. Weird, right?
 But just like she said, it comes together magically. Thanks, Judi!
I love how fast this is to make, and how easy it is to find these ingredients. It tastes like a caramel apple that you’d buy at the orchard after a full day of apple picking! And the best part is that, for $10 in ingredients, you can feed a gigantic crowd of people, because a little bit of this goes a LONG way when served alongside fruit and crackers. I had friends over Monday night and made it, and six of us polished off half the pan; my co-workers took care of the rest when I brought it to work today!.


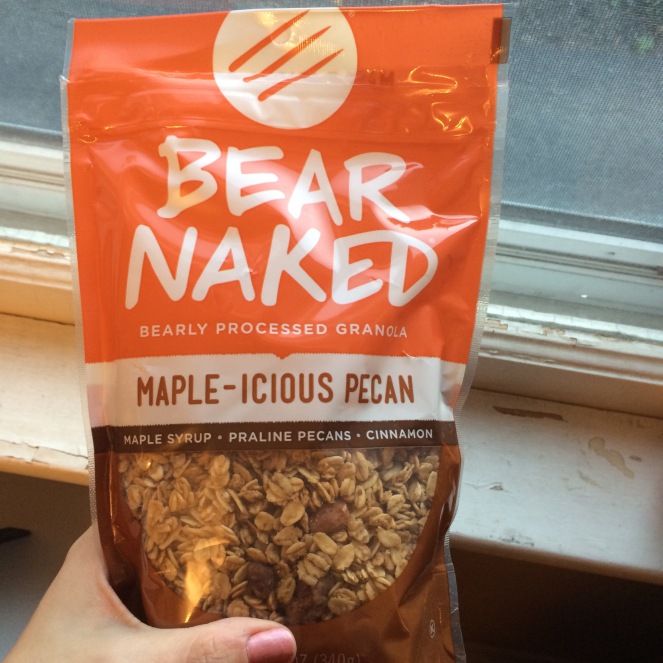
 You can buy any brand of cream cheese, granola or caramel sauce. I picked up Trader Joe’s cream cheese and caramel and Bear Naked granola at the Roche Bros. downtown because TJ’s didn’t have any normal flavors of granola left. This can easily be made with a nut-free or gluten-free version if you so desire.
Caramel Apple Dip
INGREDIENTS
- 1 container whipped plain cream cheese (full or low fat, your preference)
- 1 jar of caramel dip (such as T. Marzetti) or sauce, like you’d find near the ice cream cones and toppings
- about two cups of granola, any flavor you like
- sliced apples and/or simple crackers to eat alongside
DIRECTIONS
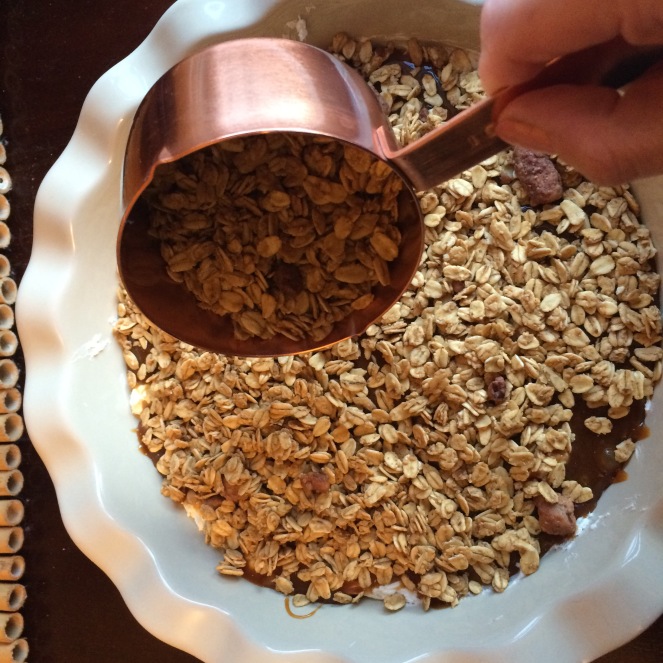
In a pie plate or large bowl, layer the whipped cream cheese, caramel sauce (softening for 1 minute in the microwave if necessary) and granola evenly and serve at room temperature with sliced apples, cut large enough to scoop out the dip. Enjoy with a dozen friends!
This pairs especially well with cheese on an appetizer spread. Just like that slightly odd New England tradition of eating slices of cheddar with apple pie, right? What I especially like about this is how it doesn’t melt, congeal, separate, or otherwise morph into something inedible or gross-looking when left out at a party for a couple hours. You can also make it a day ahead, refrigerate, and it’s ready to go as soon as you are.

See our recent apple picking adventures here, and stay tuned for an apple crisp recipe coming soon. And for another easy fall recipe, be sure to check out my brown sugar kielbasa in the slow cooker! It’s perfect for Sundays spent watching the game with family and friends.
I’m signing off to get those darn wisdom teeth out tomorrow, so wish me luck and I’ll be back soon! XOXO


